1-Month Philippines Backpacking Route & Itinerary (2025)
Are you planning a trip to the Philippines?
This 1-month Philippines itinerary is everything you need to plan your travel route.
*This post may contain affiliate links. If you purchase through a link on my site, I earn a small commission. Don’t worry, this is at no extra cost to you – check my full Privacy Policy here.
An archipelago of over 7000 islands, the Philippines is paradise on earth.
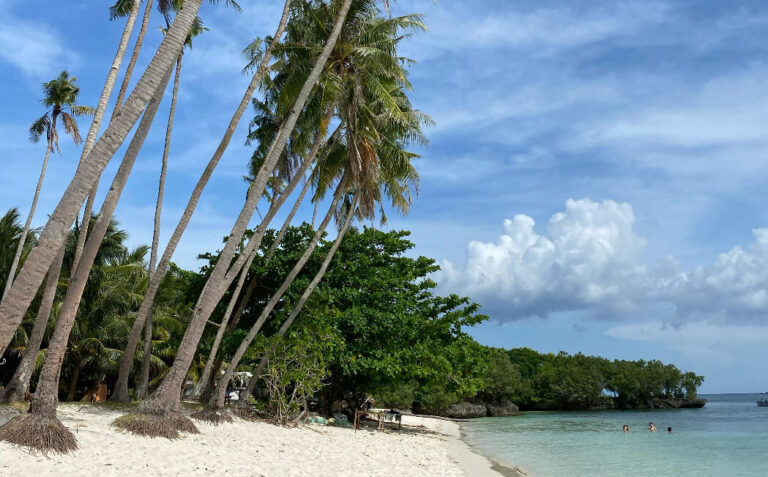
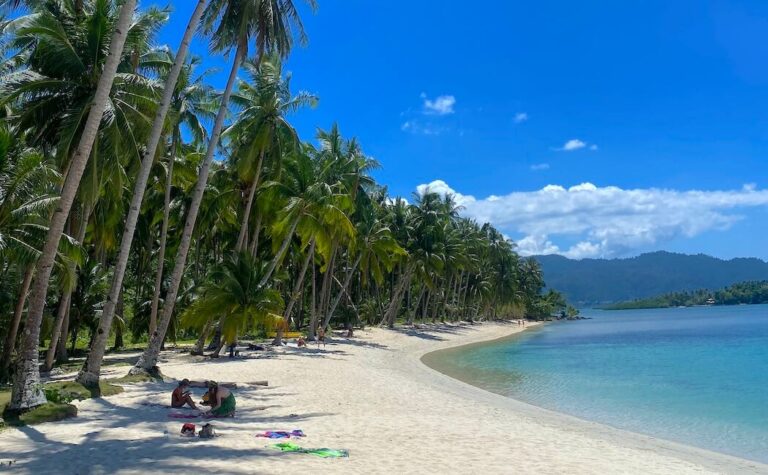
From crystal-clear waters and powdery white beaches to towering rice terraces and hidden jungle waterfalls, the Philippines offers one of the most stunning natural landscapes in the world.
If you benefit from 4 weeks to explore the Philippines, you will have the chance to visit many diverse islands and get a real feel for its culture and people.
I understand how overwhelming it can feel trying to choose the destinations for your Philippines backpacking route. I spent two months in the Philippines but could have stayed a lifetime.
Whilst I spent time in popular touristy destinations like El Nido and Bohol, I also tried to get off the beaten track and discover some more hidden gems.
I believe a mixture is good. There is a reason the touristy destinations are popular and there are some highlights you simply cannot miss.
However, embracing local life and exploring destinations not yet overrun with tourism is also important. It will help you discover a more authentic side of the Philippines.
From my personal experience, this 1-month Philippines itinerary is designed to help you explore both sides of this extraordinary country.
This post details the perfect Philippines backpacking route for 4 unforgettable weeks in paradise.
Philippines Travel Itinerary: 1 Month Overview
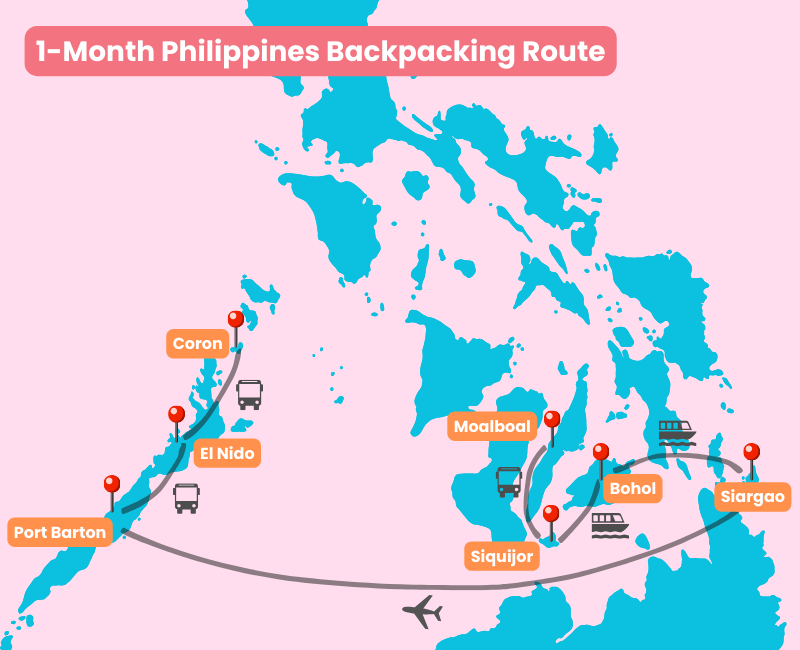
If you do not have time to read the whole article, here is a breakdown of my suggested Philippines backpacking route –
- Day 1: Arrive in Cebu City
- Day 2-3: Moalboal
- Day 4-8: Siquijor & Apo Island
- Day 9-12: Bohol
- Day 13-18: Siargao
- Day 19-22: Port Barton
- Day 23-26: El Nido
- Day 27-30: Coron
Note: this route tries to avoid flying as much as possible – you will only fly once.
The Philippines backpacking itinerary provides a perfect balance between action-packed days exploring and well-needed relaxation time, to cater to nature lovers, thrill-seekers, and beach bums alike.
Planning a trip to the Philippines
An archipelago of over 7000 islands, all beautiful and unique in their own way, makes planning a trip to the Philippines harder than most destinations.
Usually, as a budget backpacker, I prefer to go with the flow and not plan too far in advance.
However, that approach will not work with the Philippines. With so many islands, unless you want to spend hundreds on flights, having a rough Philippines backpacking route is essential.
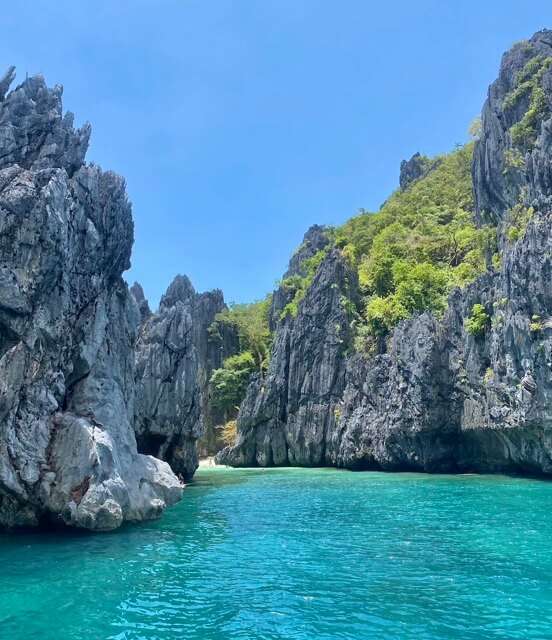
Alternative backpacking route | Additional destinations
Depending on your interests, you might want to consider some alternative destinations for your Philippines travel route.
Personally, as a budget backpacker, I did not visit Coron. If you also decide to skip it, you could swap in one of these destinations instead –
Manila – most travelers fly into or out of Manila. The Philippines is such a beautiful country and I wouldn’t suggest wasting your time in a big city.
If you benefit from an extra couple of days, then perhaps spend a night in Manila. If you’re a lover of history, I would suggest a guided tour of the walled city (book here).

Camiguin – I spent 5 days in Camiguin and loved it. As a volcanic island, the nature is truly unique and you will find hot springs, black-sand beaches, and hidden waterfalls.
If you’re a nature lover and a fan of hiking, then I would suggest a few days in Camiguin.
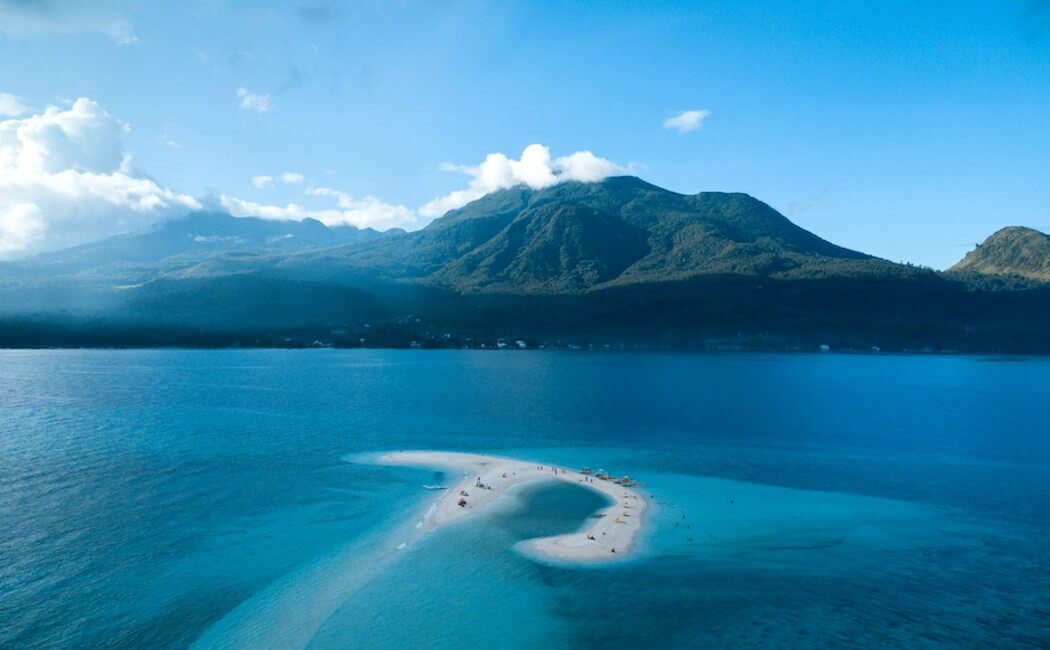
Related: ULTIMATE CAMIGUIN TRAVEL GUIDE: Budget & Itinerary
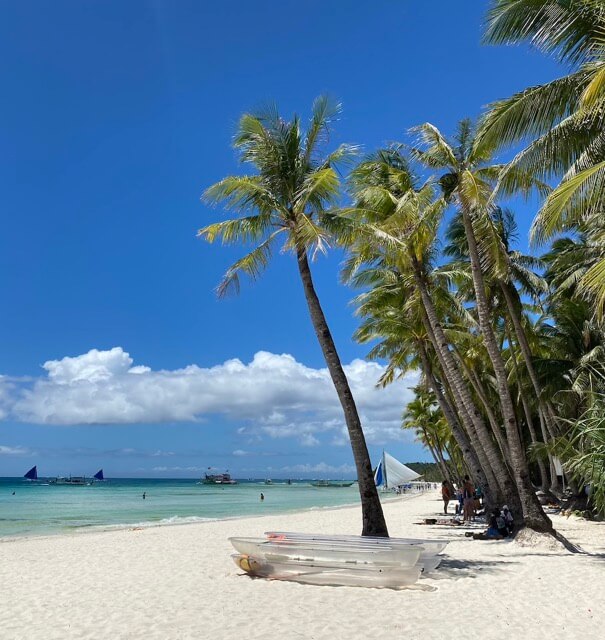
Boracay – I spent a few days in Boracay and personally hated it. It felt like one big tourist trap. Everything was painfully overpriced, it was full of tourists, and the whole island lacked authenticity.
However, Boracay is home to the most beautiful beach I have ever seen. If you’re a luxury traveler looking to relax in a world-class resort and enjoy sunset cocktails, then you might love it.
Day 1: Cebu City
Start your 4-week Philippines itinerary in Cebu City, centrally located in the Philippines.
If you arrive at a reasonable time, I would suggest heading straight to Moalboal.
With so many other beautiful places to visit on your Philippines route, avoid wasting time in the big cities if you can.
If you arrive too late to head straight to Moalboal, then stay in Cebu City for one night and depart the next morning.
BOOK YOUR TRANSFER FROM CEBU CITY TO MOALBOAL IN ADVANCE HERE
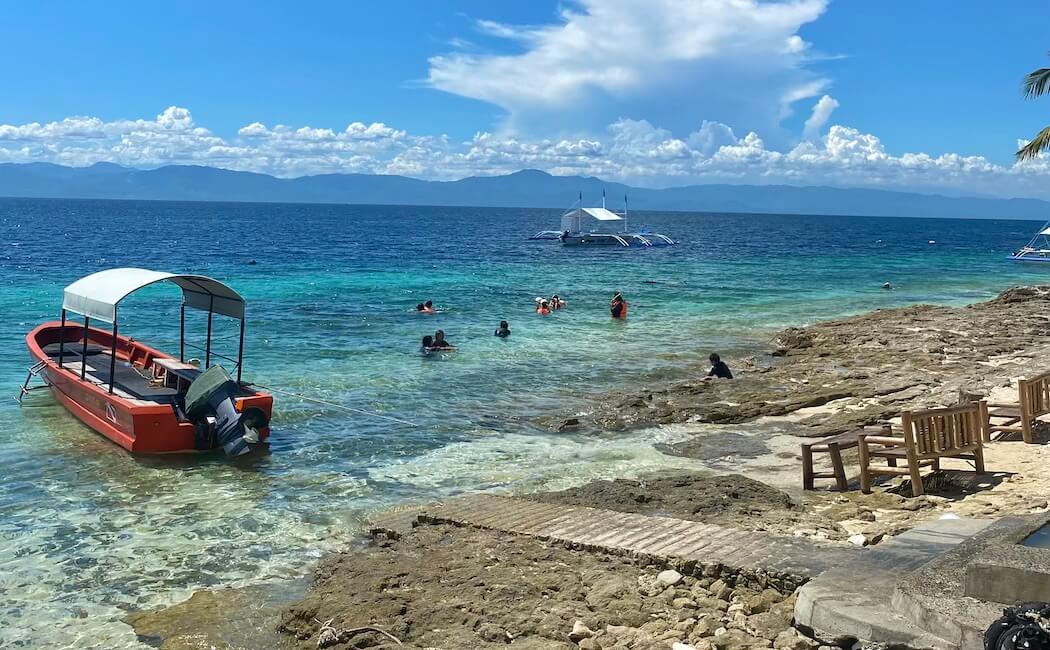
Full Post: How To Get From Cebu City to Moalboal: Schedule & Fare
Day 2-3: Moalboal
The first stop on your Philippines itinerary is Moalboal; Cebu’s diving capital.
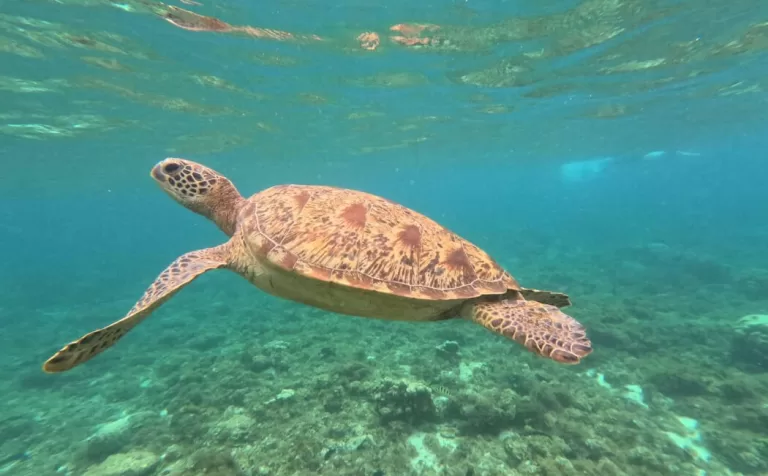
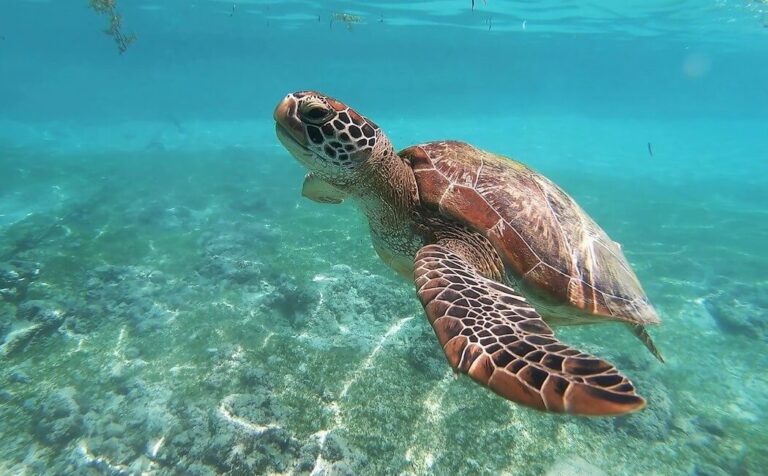
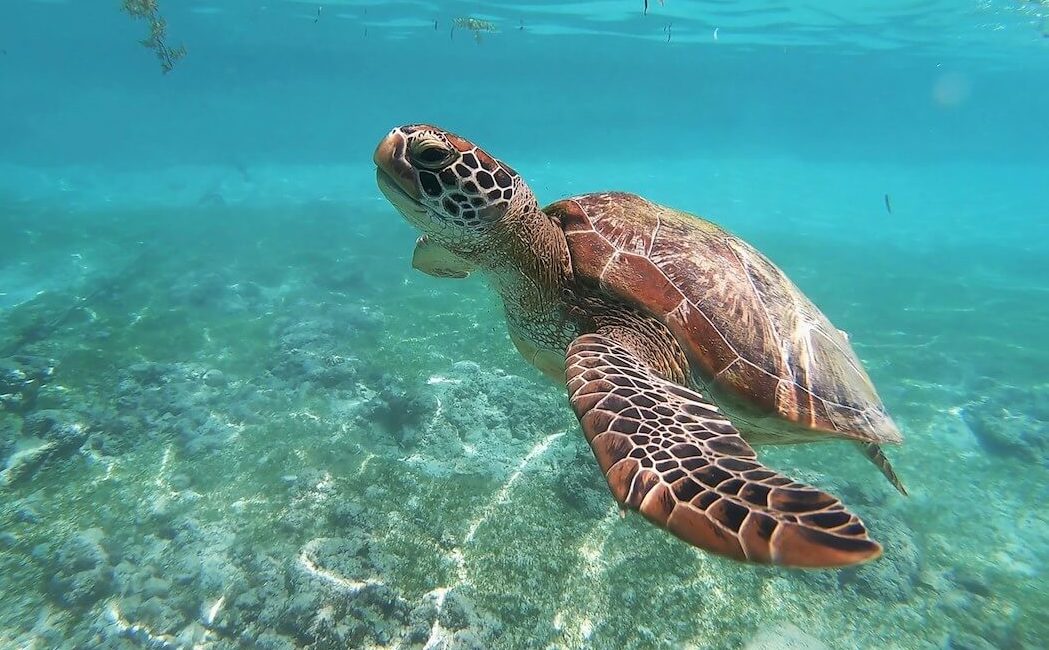
Moalboal has gained international fame for its iconic sardine run just meters from the shoreline. Nearby Pescador Island is also known for its abundant marine life and grazing turtles.
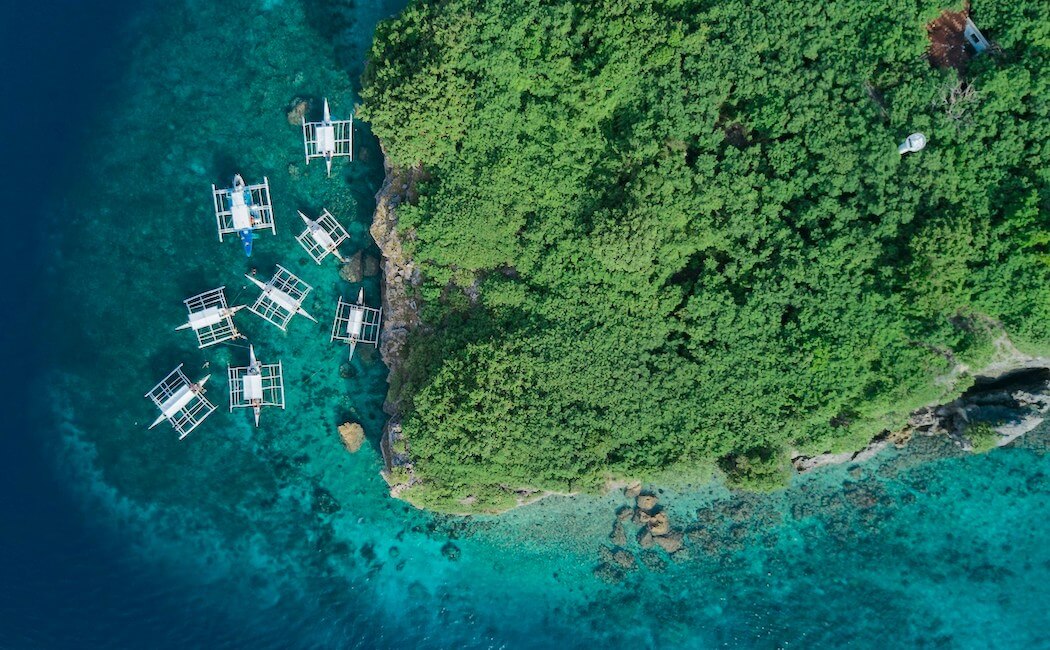
Must Read: Pescador Island Moalboal: The Ultimate Snorkeling & Diving Guide
However, in more recent years, Moalboal has transformed into a hotspot for thrill-seekers looking to explore the crystal-clear waters of Kawasan Falls on a canyoneering adventure.
This once-sleepy-coastal village therefore attracts a mix of environmental enthusiasts, adventure lovers, and recreational divers to explore its shores.
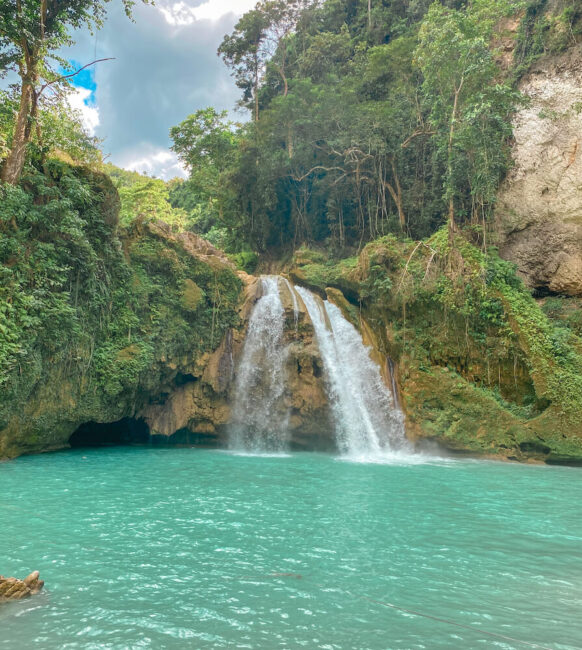
Related: 10 Essential Things To Know BEFORE Kawasan Falls Canyoneering
The result is a buzzing nightlife scene, many trendy cafes, delicious restaurants, and a lively backpacker vibe.
This is the perfect way to kick off your 1-month Philippines itinerary.
If you’re short on time, check out this combined 1- day Moalboal Island Hopping & Kawasan Falls Canyoneering Tour.
Things to do in Moalboal
There are many amazing things to do in Moalboal. Two days is the perfect amount of time to explore the main highlights.
Spend your first-day exploring Panagsama Beach and nearby Pescador Island. Spend the day snorkeling or diving to witness the iconic sardine run and turtles.
The second day is all about adrenaline-fuelled canyoneering at Kawasan Falls for a day you will never forget.
- Panagsama Beach – the world’s second-largest sardine run
- Pescador Island – diving/snorkeling with turtles (book here)
- White Beach
- Canyoneering at Kawasan Falls (book here)
Check out How To Spend 1-3 Days in Moalboal for detailed itinerary suggestions so you do not miss a thing.
Where to stay in Moalboal
I would recommend staying in the area around Panagsama Beach when visiting Moalboal.
This is where you will find all of the main restaurants, nightlife, and of course, the iconic sardine run just meters from the shoreline.
- Chief Mau Hostel – the best option for budget backpackers & solo travelers, the ultimate social hostel
- Marz Inn – the best budget-friendly accommodation for couples or families
- Secret Paradise – the best luxury accommodation
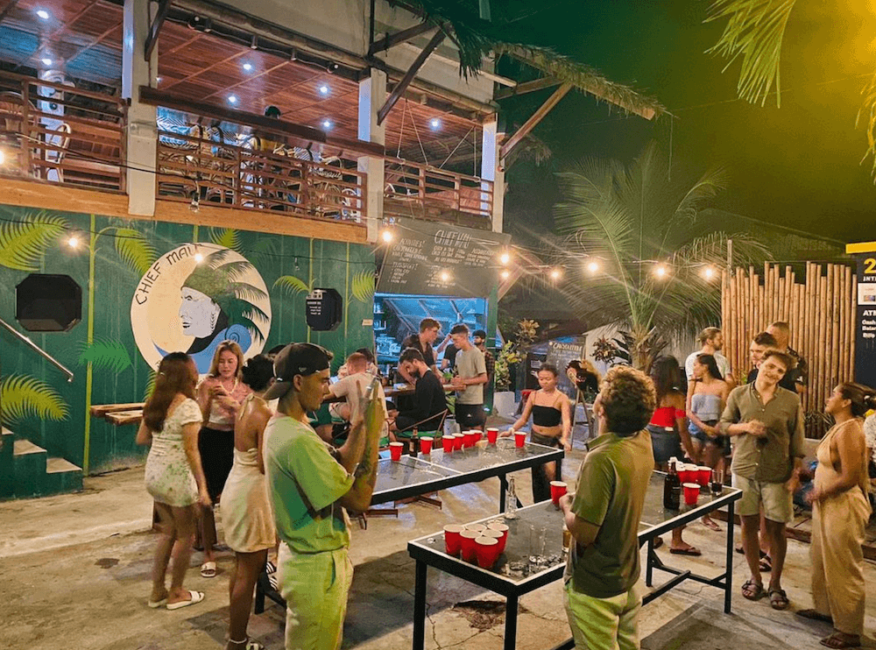
BOOK YOUR STAY AT CHIEF MAU HERE
Day 4: Travel day
I would dedicate a whole day to travel from Moalboal to Siquijor.
Although the journey is pretty straightforward and inexpensive, it can easily take a whole day.
The best way to reach Siquijor from Moalboal is via Dumaguete. The steps are as follows –
- Bus from Moalboal to Bato – 2 hours
- Tricycle from Bato to Liloan Port – 7 minutes
- Ferry from Liloan Port to Sibulan Port – 20 minutes
- Tricycle from Sibulan Port to Dumaguete Port – 15 minutes
- Ferry from Dumaguete to Siquijor – 1 hour (book here)
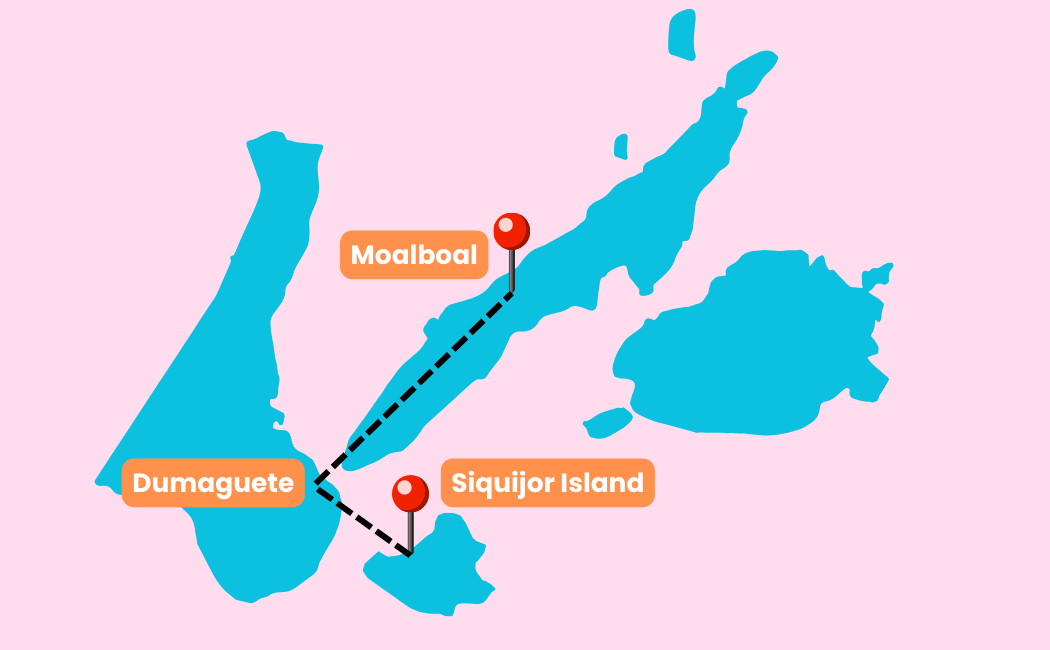
For full details, check out my (really helpful) How To Get From Moalboal to Siquijor guide.
Day 5 – 8: Siquijor & Apo Island
Next up on your Philippines travel itinerary is Siquior.
Famed as a mystical island with a longstanding history of witchcraft and magic, Siquijor is rapidly becoming a popular destination when exploring the Philippines.
Related: ULTIMATE SIQUIJOR TRAVEL GUIDE: Budget & Itinerary
Siquijor’s laidback vibe, untamed natural beauty, lack of tourists, and commitment to environmental conservation make this a unique island to visit.
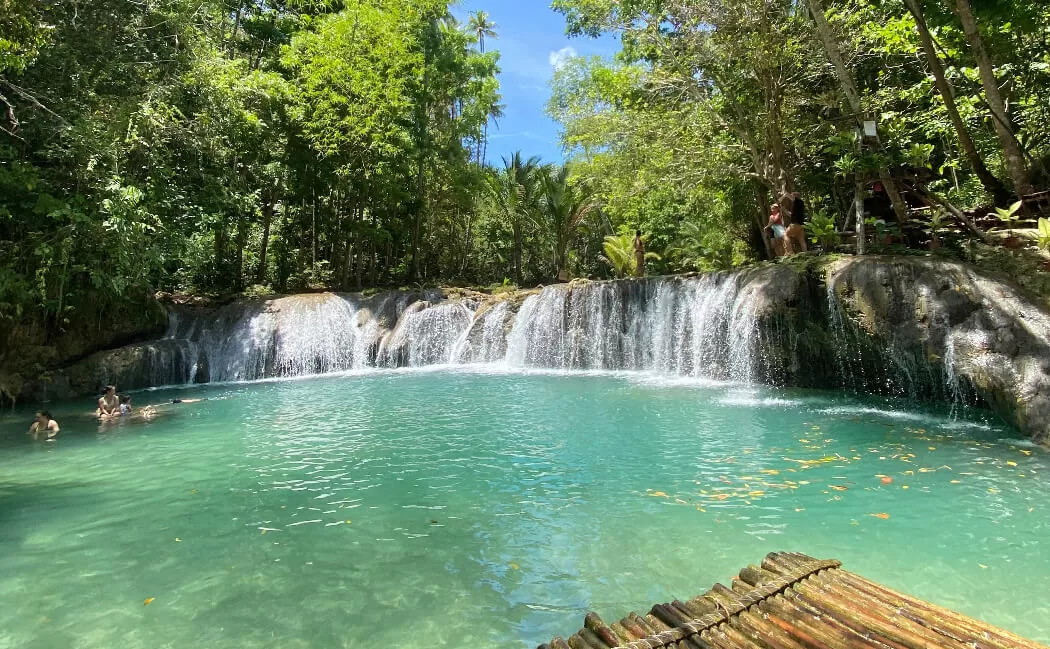
From jungle waterfalls, enchanted trees, and hidden caves to white-sand beaches, vibrant coral reefs, and abundant marine life, there is something for every type of traveler.
When visiting Siquijor, you also cannot miss the all-included Apo Island day trip with Coco Grove Resort.
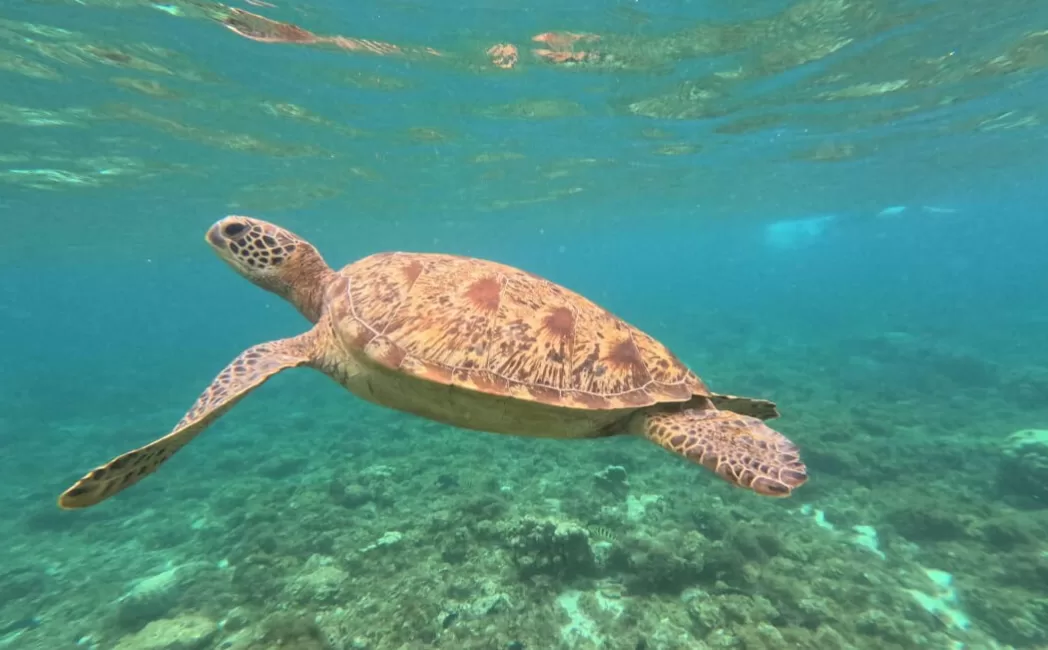
Full Post: Apo Island Tour From Siquijor: The Ultimate Guide
For those looking to connect with nature, get off the beaten track, and enjoy a wholesome few days, this is the perfect next stop on your 4-week Philippines itinerary.
If you’re short on time, check out this 1-day Siquijor Day Trip From Dumaguete
Things to do in Siquijor
If you’re a nature lover and an environmental enthusiast, you will be in your element in Siquijor.
3 days is the ideal amount of time to explore the main Siquijor tourist spots. Spend one day waterfall hopping, one day beach bumming, and one day exploring Apo Island.
- Waterfall hopping – Cambugayhay Falls, Kawasan Falls & Cave, Lagaan Falls, Lugnason Falls
- Salagdoong Beach & Cliff Jump
- Butterfly Sanctuary / Quisol Mountain View
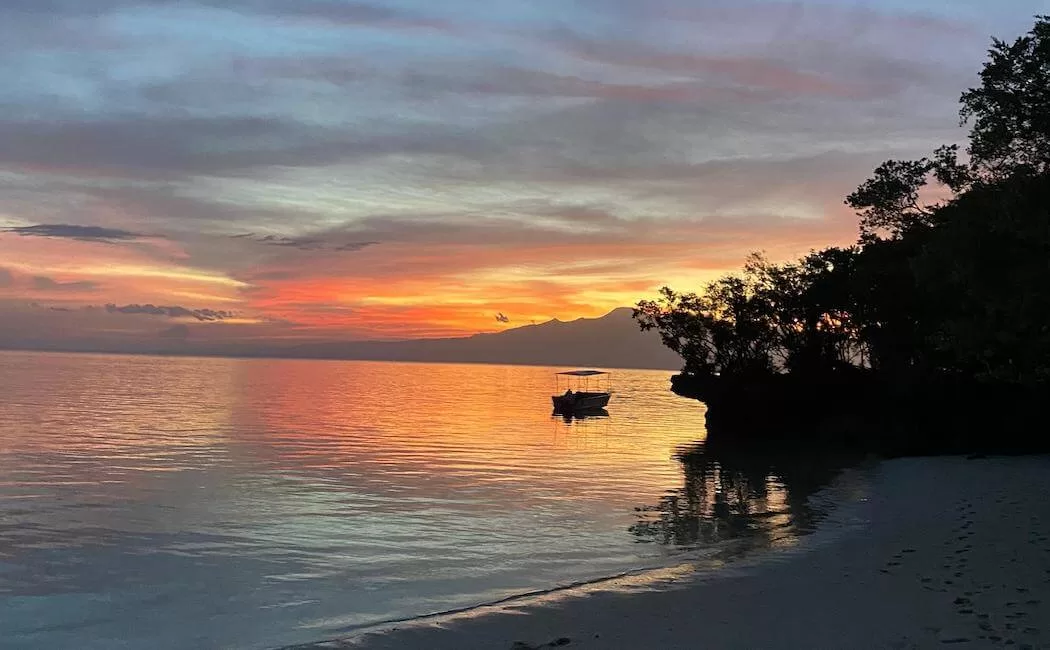
- Paliton Beach (sunset)
- Tubod Beach & Marine Sanctuary
- Old Enchanted Balete Tree
For my full detailed itinerary, check out my How To Spend 3 Days in Siquijor post.
Where to stay in Siquijor
When visiting Siquijor, most travelers tend to stay in the tourist hub of San Juan.
- Stella’z Guesthouse – best budget-friendly option, private rooms or dorms
- Mandala Tribe Treehouse – most unique accommodation, great for couples or small groups
- Cocogrove Resort – best luxury accommodation with a private beach
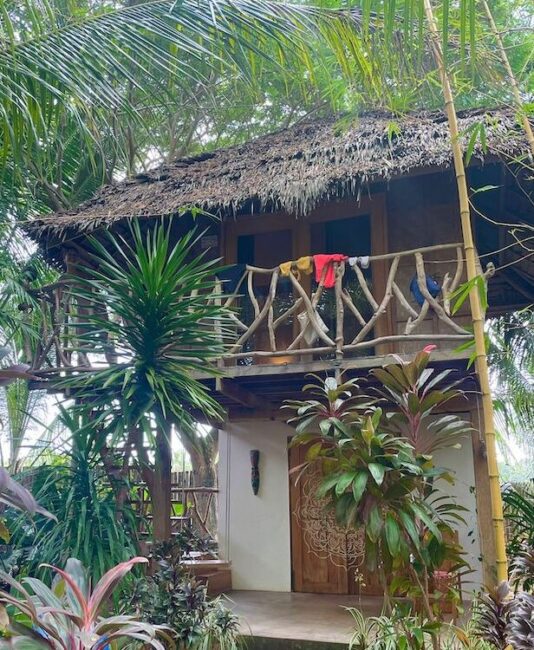
BOOK YOUR STAY AT MANDALA TRIBE TREEHOUSE HERE
Getting from Siquijor to Bohol
There are two ferries per day from Siquijor to Bohol at the following times –
- 8:20 AM
- 1:00 PM
I would recommend getting the early ferry to give yourself 4 full days in Bohol (book here).
Day 9 – 12: Bohol
Bohol is one of the most popular destinations in the Philippines.
Known for its wide-eyed mammals and mystifying Chocolate Hills, I was apprehensive about visiting as I cannot stand a ‘tourist trap’.
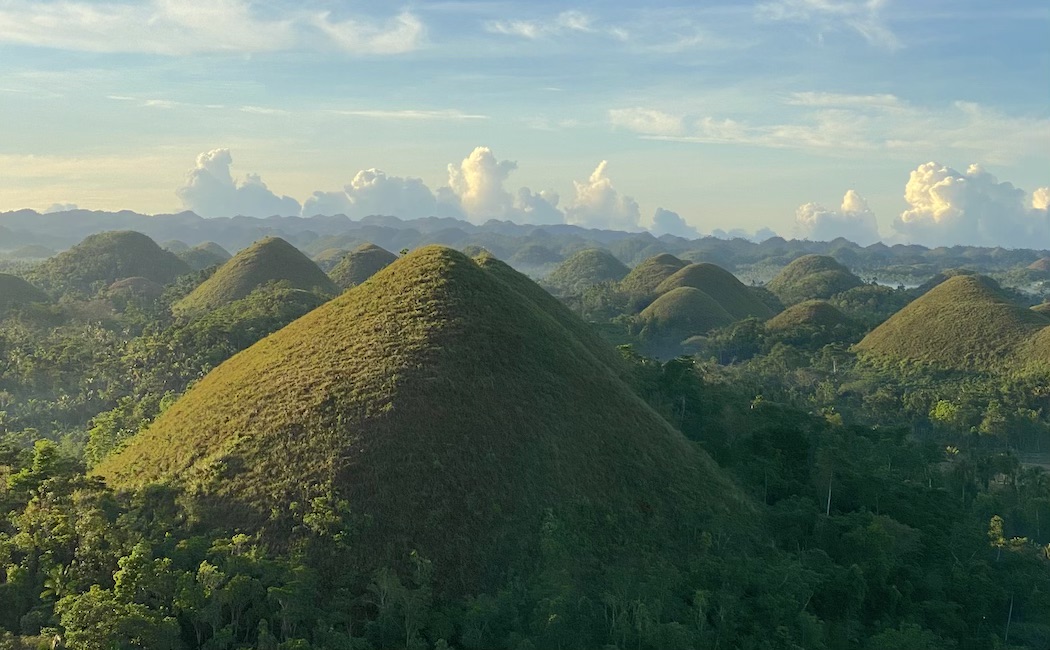
Must Read: The Ultimate DIY Guide To Bohol’s Chocolate Hills
Whilst the western side of Bohol feels catered towards tourism, the eastern side is a hidden gem waiting to be explored.
For those who dare to venture a little further afield, you are rewarded with one of the most unique natural landscapes in the Philippines.
From vibrant green rolling hills and sunrise hikes to white-sand beaches and hidden waterfalls, Bohol deserves a spot on your 1-month Philippines itinerary.
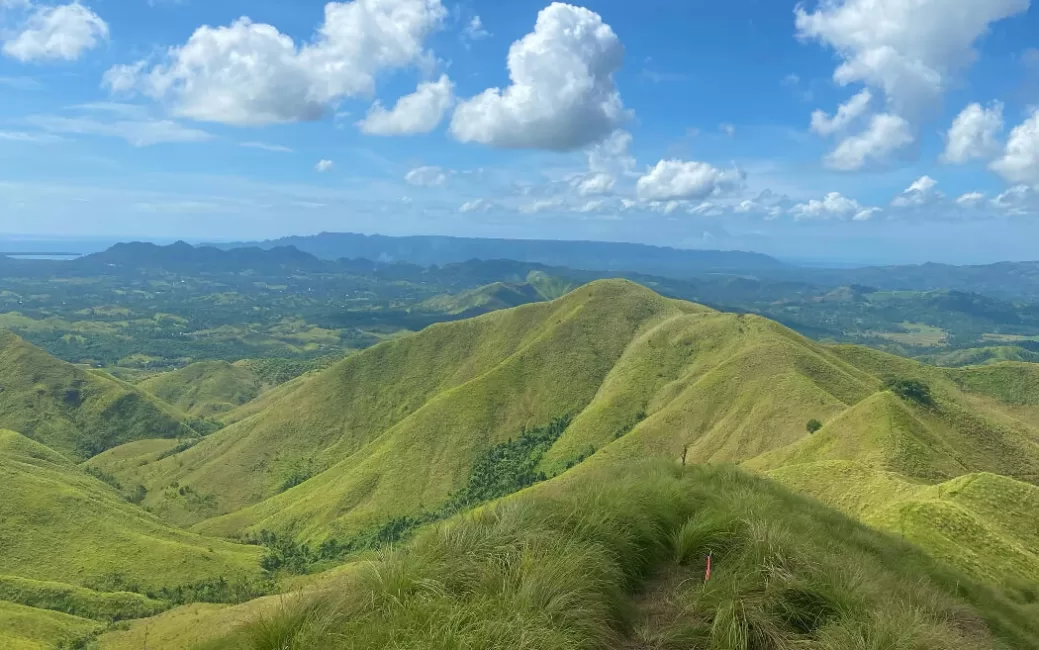
Related: Alicia Panoramic Park: The Complete Guide To Bohol’s Hidden Gem
Dedicate a couple of days to exploring the main tourist spots and enjoying the nightlife in Panglao, and another couple to getting off the beaten track, hiking, and enjoying nature.
Things to do in Bohol
Bohol is a big island and there are many fantastic and diverse things to do.
Spend your first day on a countryside tour, either book online or take a DIY tour of the main tourist spots.
Spend the next day exploring Candijay on the eastern side of the island. This will show you a more authentic local side of Bohol.
For your third day, check out Panglao and the Alona Beach area. For your final day, embark on an island-hopping adventure.
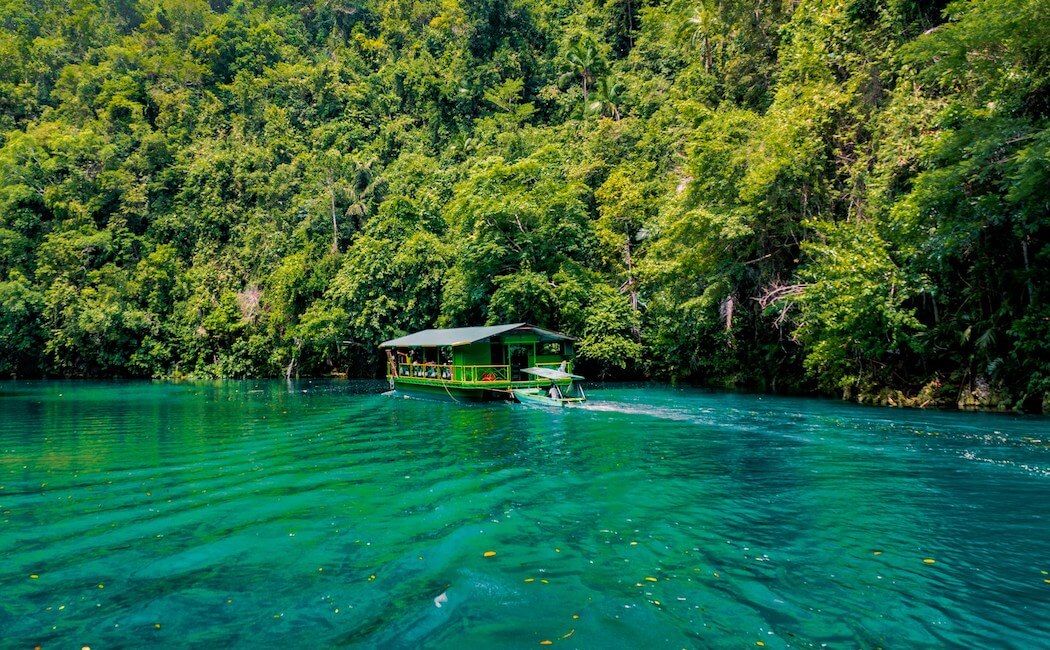
- Countryside Tour – Chocolate Hills, Tarsier Sanctuary Corella, Loboc River Cruise, Baclayon Church (book here)
- Alicia Panoramic Park
- Can-Umantad Falls
- Capadacapan Rice Terraces
- Island Hopping (book here)
If you want to avoid the crowds, check out my Ultimate 4-Day DIY Itinerary for Bohol.
Where to stay in Bohol
Whilst most tourists tend to stay in the tourist hub of Panglao, I would recommend splitting your time between Panglao and Carmen.
Carmen is centrally located near all of the main Bohol tourist spots, it is a great base for exploring the whole island. Staying in the countryside provides a more authentic glimpse into local life.
However, the nightlife scene in Panglao is great and the beaches are beautiful, so it is worth staying a couple of nights there too.
- Bohol Beach Club – luxury beachfront accommodation in Alona Beach, Panglao
- Lhoyjean Garden Homestay – 10 minutes from Chocolate Hills, private bungalows in the countryside
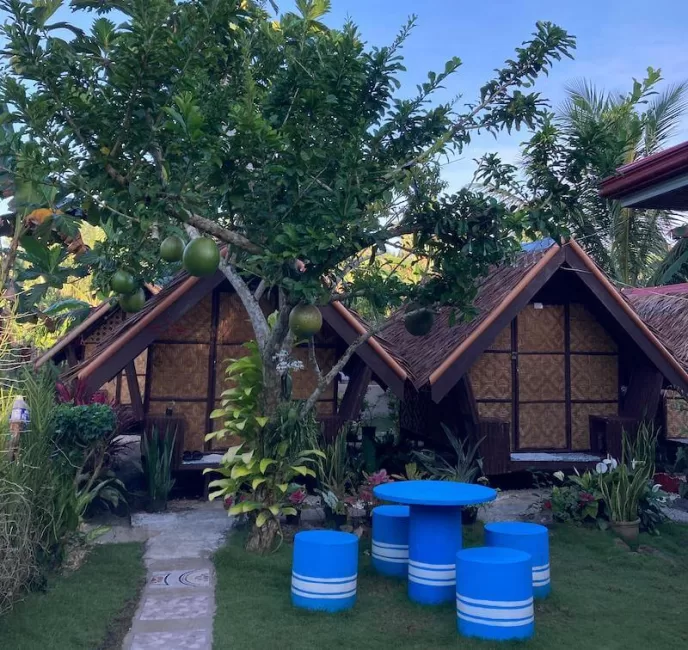
BOOK YOUR STAY AT LHOYJEAN HOMESTAY HERE
Day 13: Travel day
You will need a whole day to travel from Bohol to Siargao.
If you’ve got the money and are a fan of comfort, I would recommend flying.
However, for the budget backpackers, this journey will involve 3 different ferries, one of which is overnight.
The steps are as follows –
- Ferry from Bohol back to Cebu City (book here)
- Ferry from Cebu City to Surigao (book here)
- Ferry from Surigao to Siargao (book here)
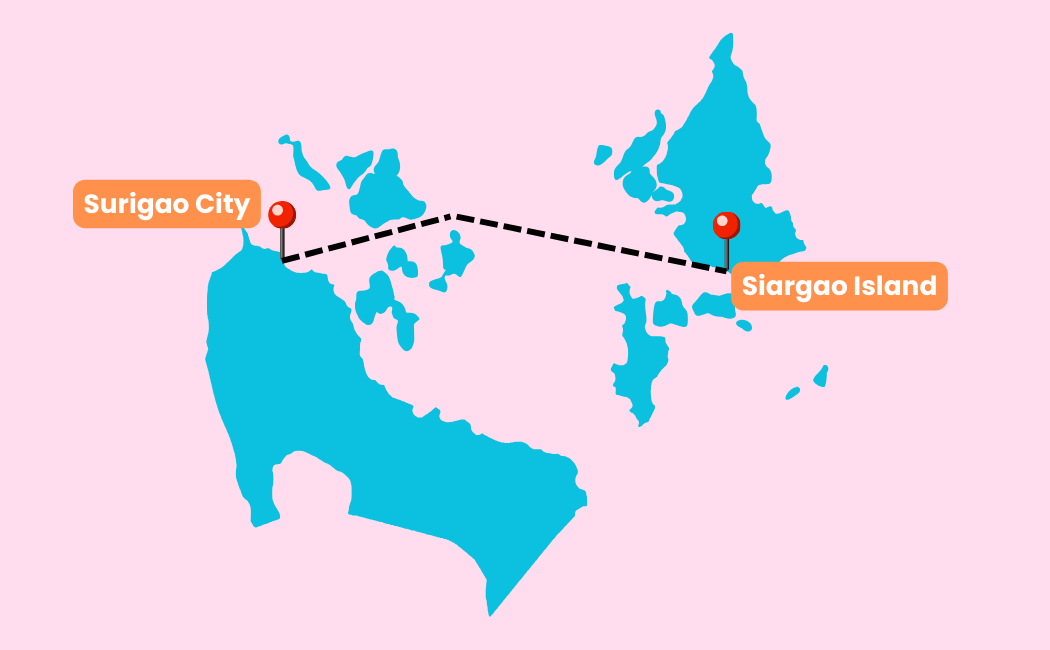
For full instructions from Bohol, check out my How To Get To Siargao Island: A Step-By-Step Guide
Day 14 – 18: Siargao
The next destination on our Philippines backpacking route is Siargao.
Widely known as the surfing capital of the Philippines, Siargao’s rustic charm has been captivating travelers from all walks of life.
Must Read: ULTIMATE SIARGAO TRAVEL GUIDE: Budget & Itinerary
Siargao was my favourite island in the Philippines. Even though I spent a week there, I could have stayed a lifetime.
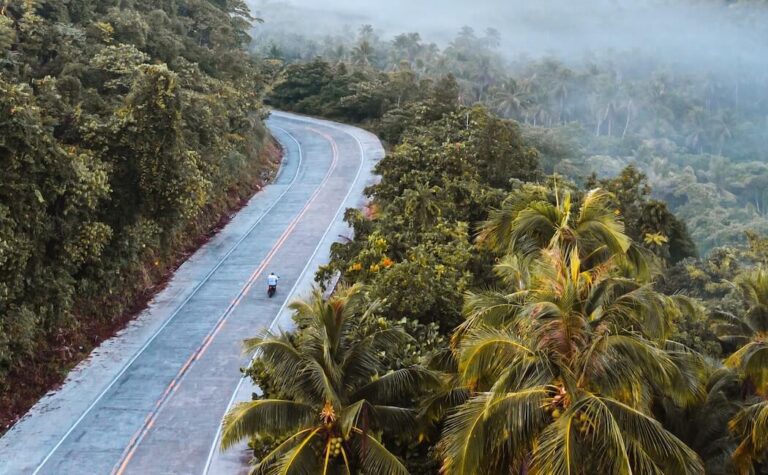
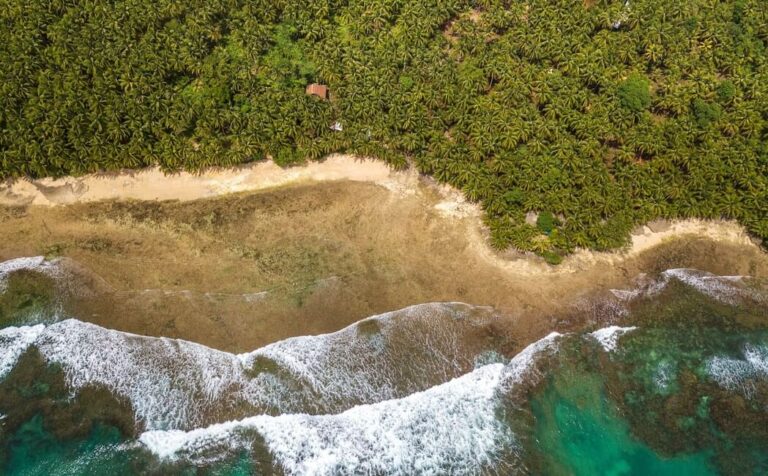
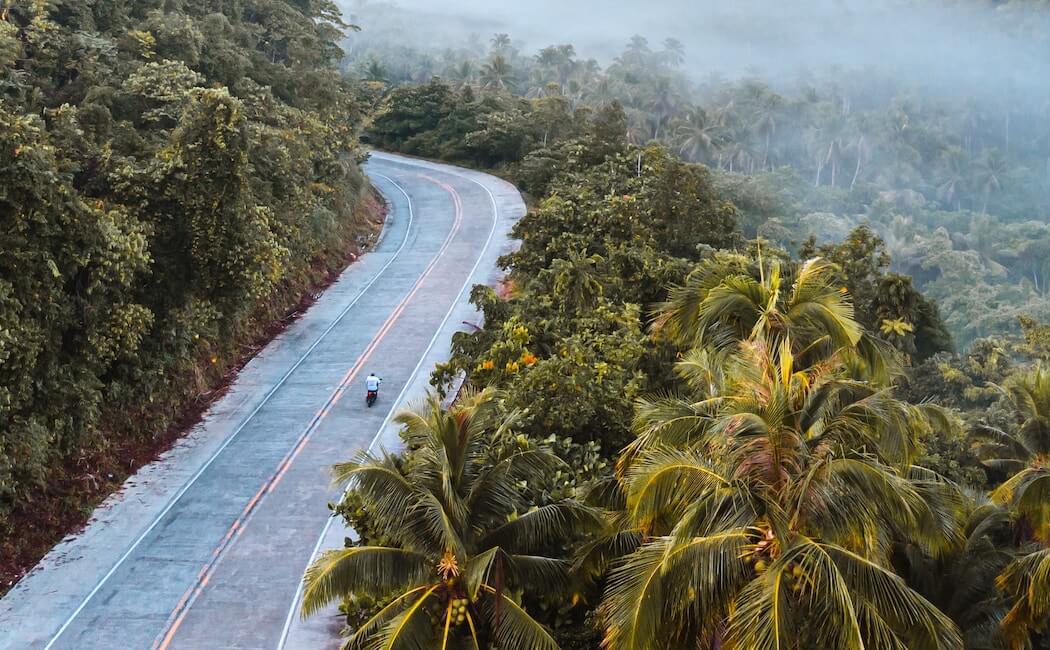
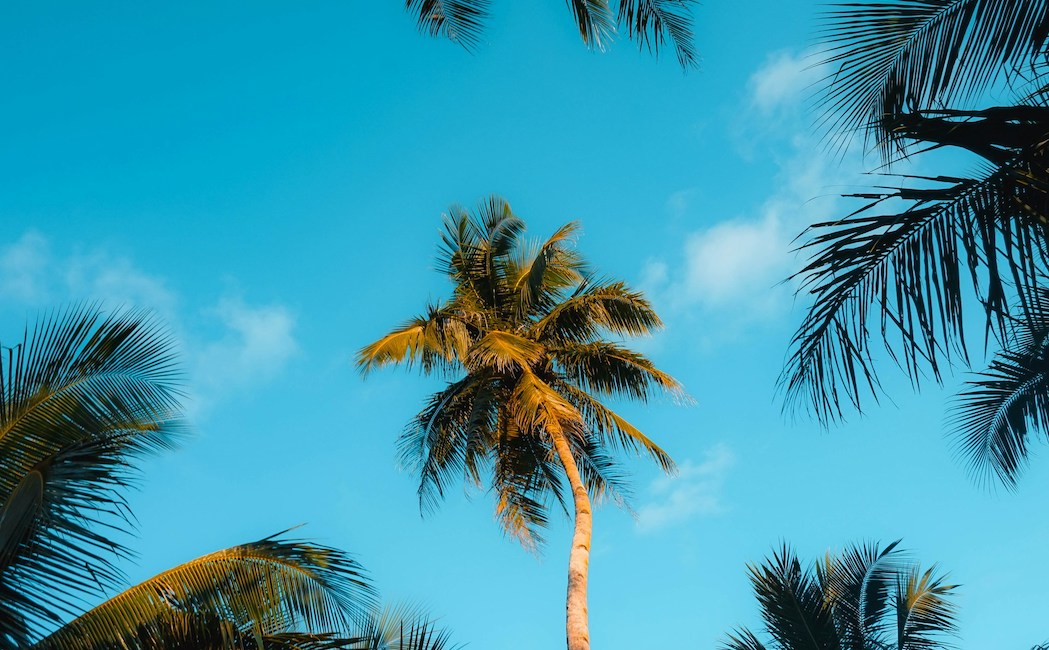
Rugged natural beauty, heaps of adventure activities, pristine white-sand beaches, and extraordinary day trips, all with a (massive) sprinkle of coconut trees.
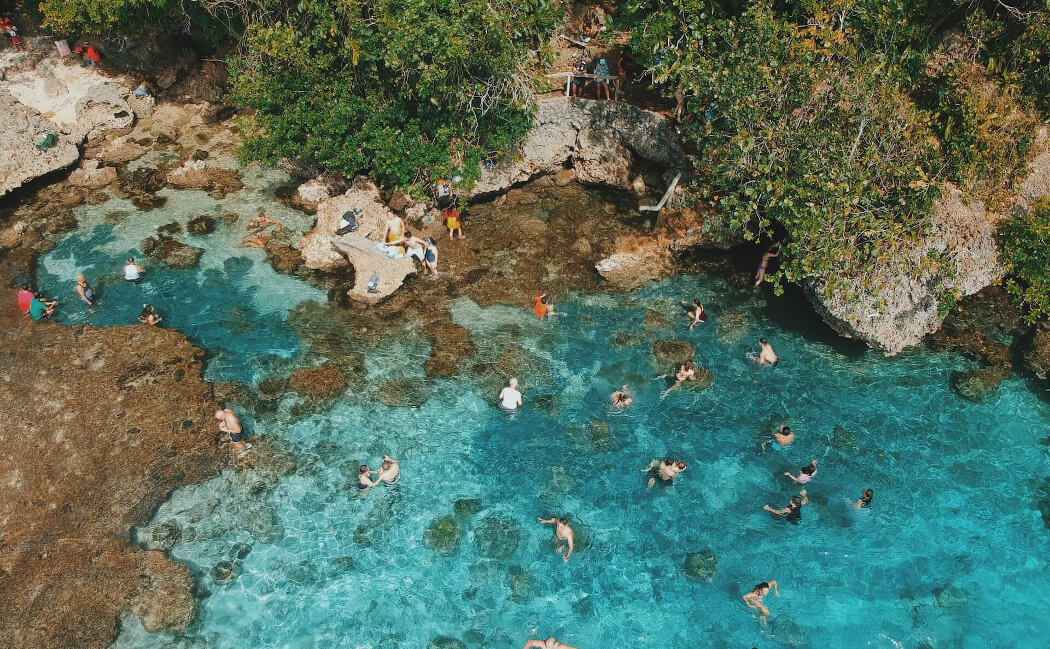
Related: 17 Unique Things To Do in Siargao For Non-Surfers
You will also find one of the most buzzing nightlife scenes in the Philippines and many vibrant restaurants and cafes. It is great place to meet fellow travelers.
The laidback surfers’ vibe and slower pace of life is intoxicating. This tropical paradise is a must-visit on your Philippines itinerary 1 month.
Things to do in Siargao
Siargao Island is the perfect destination for adventure lovers, party animals, beach bums, and nature enthusiasts alike.
As well as heaps of amazing things to do on the island itself, there are many fantastic day trips to take from Siargao.
- Siargao Land Tour – Maasin River, Magpupungko Rock Pools, Coconut Road & Viewdeck, Sugba Lagoon (book here)
- Doot Beach (mangrove kayaking & sunset)
- Surfing at Secret Spot Beach (beginners) or Pacifico Beach (advanced)
- Sohoton Cove (book here)
- Cloud 9 Boardwalk
- Island Hopping (book here)
Check out my How To Spend 3-5 Days in Siargao guide for my day-by-day itinerary.
Where to stay in Siargao
The best area to stay in Siargao is the tourist hub General Luna.
- Jings Place Homestay – most affordable option for budget backpackers and solo travelers
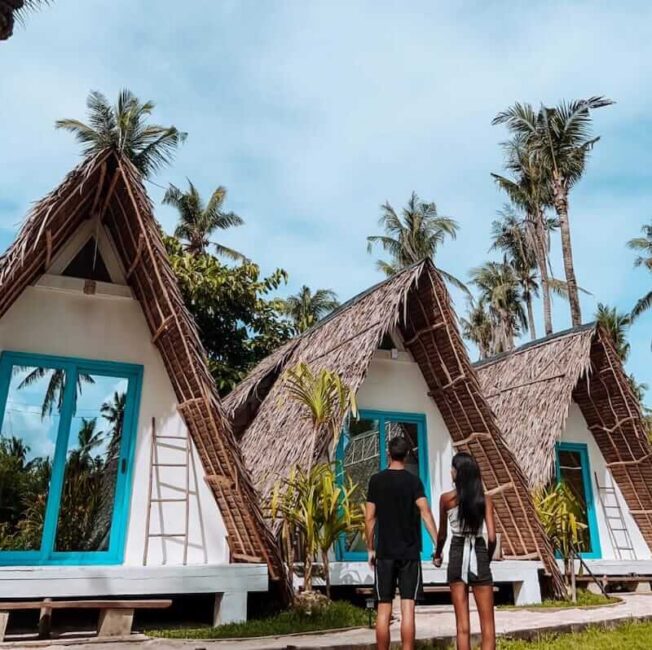
- Mao Mao Surf Camp – rustic private bungalows perfect for couples or groups
- Isla Cabana Resort – best luxury beachfront accommodation

BOOK YOUR STAY AT MAO MAO SURF CAMP HERE
Day 19: Travel day
Traveling from Siargao to Port Barton can easily take the whole day.
This is the first time on this Philippines travel itinerary that we’re going to be flying. Siargao and Palawan are simply located too far away from each other.
The steps are as follows –
- Flight from Siargao to Cebu City
- Flight from Cebu City to Puerto Princesa
- Bus from Puerto Princesa to Port Barton (book here)
Full Post: How To Get To Port Barton: A Step-By-Step Guide
Day 20 – 22: Port Barton
Next up on your Philippines travel itinerary is Port Barton.
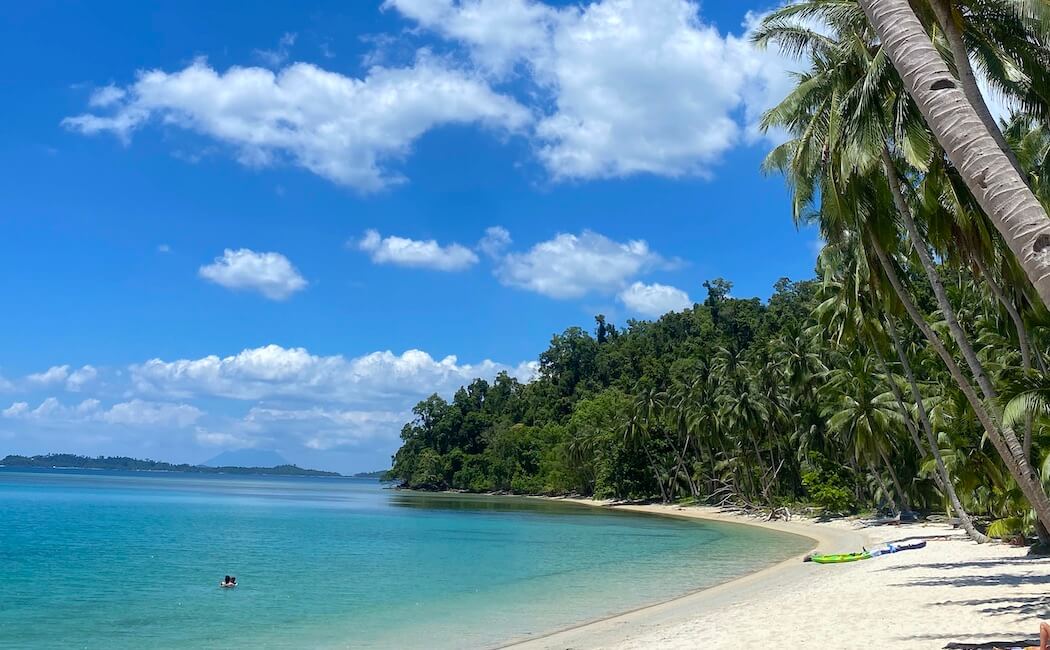
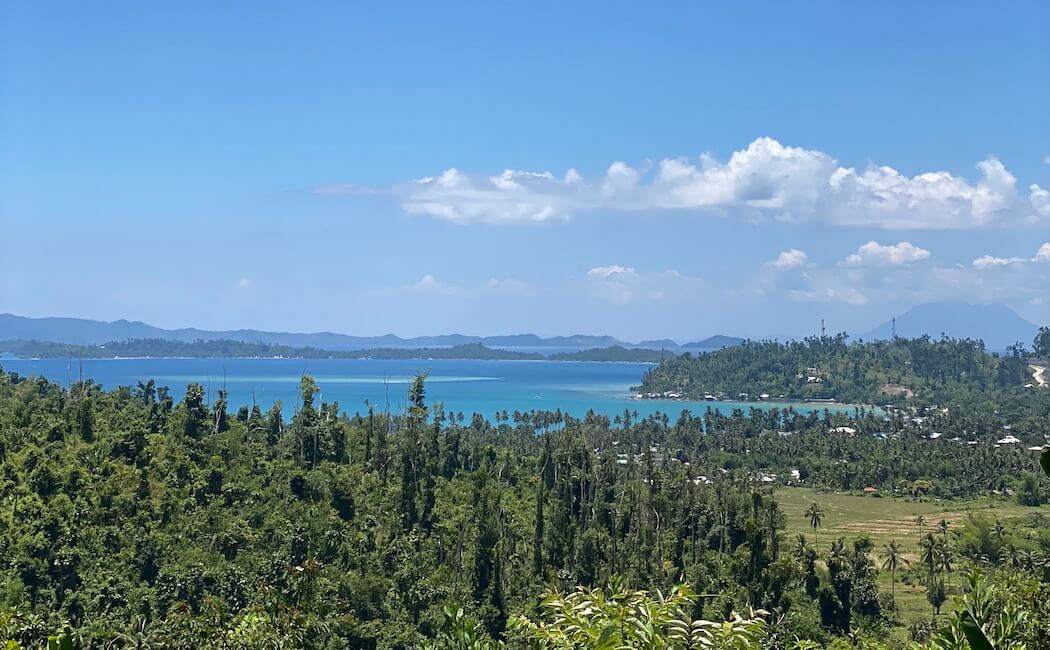
Port Barton is a sleepy beach town located on Palawan’s western coast. It has not yet experienced an influx of tourism like its more popular northern neighbours.
Port Barton is like a breath of fresh air and provides an authentic glimpse into a stunning destination not yet overrun by tourists.
The town remains pretty underdeveloped and the natural surroundings, from white-sand beaches to hidden waterfalls, remain untouched and pristine.
Must Read: ULTIMATE PORT BARTON TRAVEL GUIDE: Budget & Itinerary
However, It is certainly growing as a popular tourist destination, and more hostels, delicious restaurants, and bars are popping up each year.
Surprisingly, Port Barton also boasts a pretty lively nightlife scene and is another great destination to meet fellow backpackers.
Related: Top 9 Best Things To Do in Port Barton
For those who want to enjoy a few slow-paced days abscent of tourists before heading north, Port Barton is the perfect next destination on your 4-week Philippines itinerary.
Things to do in Port Barton
Port Barton is small and underdeveloped without much tourist infrastructure.
Whilst there are many stunning natural attractions to visit, there are not heaps of things to do like other destinations in the Philippines.
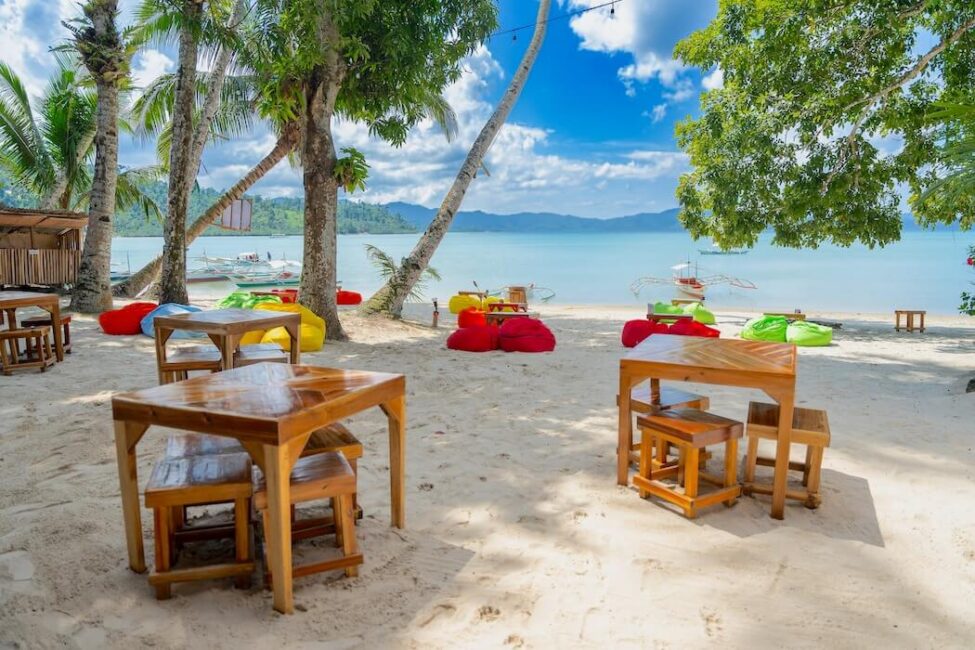
A couple of days is the perfect amount of time to experience the Port Barton highlights. Spend one-day island hopping and the next day beach bumming and relaxing.
- Kayaking to Coconut Beach & White Beach
- Island Hopping (book here)
- Street Dog Sanctuary
- Sunset at Itaytay Beach
- Pamuayan Falls
Related: Where To Eat: Top 9 BEST Restaurants in Port Barton
Where to stay in Port Barton
I would recommend staying in the main town of Port Barton. The area is very concentrated and you can reach most tourist spots by walking.
Port Barton is certainly not the destination for the luxury traveler and world-class resorts. Each Port Barton accommodation has a back-to-basics feel; come prepared for spotty wifi and cold showers.
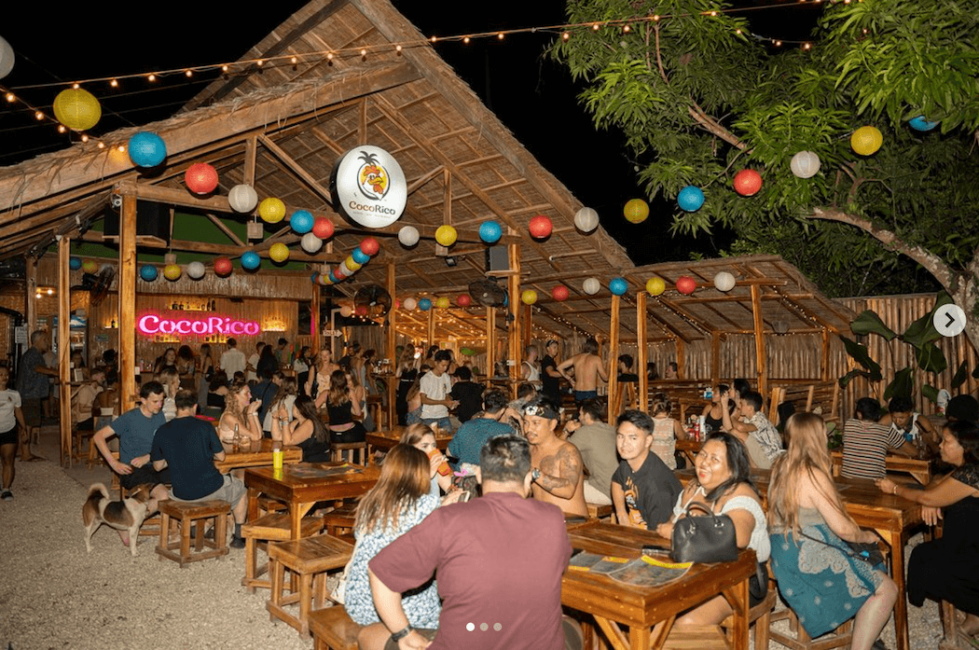
- Cocorico Hostel – best option for budget backpackers & solo travelers, amazing social hostel
- Aquarius – best medium-budget accommodation
- Holiday Suites Port Barton – best beachfront luxury accommodation
BOOK YOUR STAY AT COCORICO HERE
Getting from Port Barton to El Nido
The journey from Port Barton to El Nido takes about 4 hours in a shared mini-van.
BOOK YOUR JOURNEY IN ADVANCE HERE
Day 23 – 26: El Nido
El Nido is another one of the most popular destinations and a must on any Philippines backpacking route.
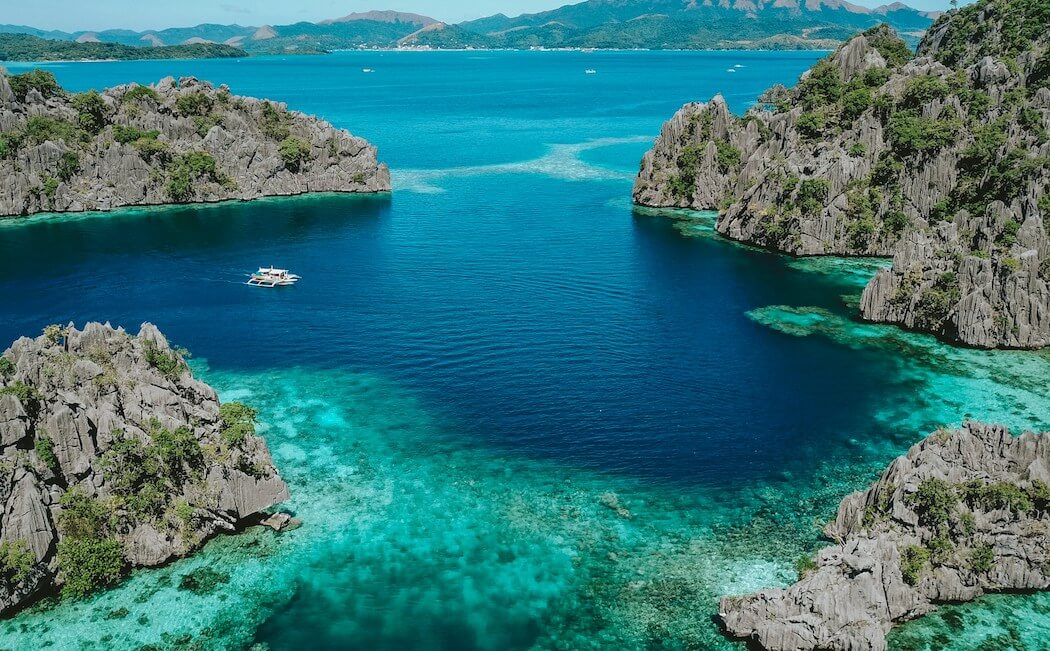
El Nido has gained international fame for its breathtaking limestone cliffs, crystal-clear lagoons, and white-sand beaches.

Must Read: Top 5 MOST BEAUTIFUL Beaches in El Nido
I had heard that El Nido was super touristy and expensive compared to other destinations, so I was not too sure what to expect.
El Nido pleasantly surprised me and it ended up being one of my favourite destinations, despite the (many) tourists.
Most tourists flock to El Nido for island hopping tours and it is easy to understand why. The surrounding Bacuit Bay is like paradise on Earth.
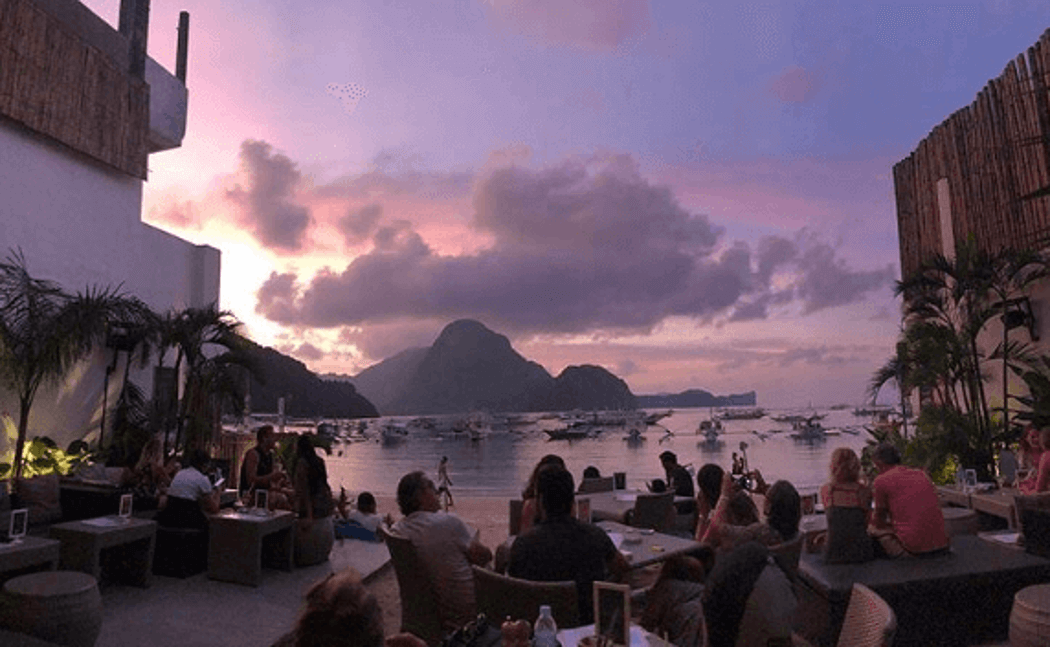
I loved the buzzing atmosphere of town proper, with the many bars and delicious restaurants. You also cannot beat it for sunsets.
Full Post: El Nido Nightlife: Top 7 Best Bars & Party Spots
If you want to enjoy island hopping and a more social atmosphere for a few days, you will love El Nido on your Philippines itinerary.
Things to do in El Nido
El Nido certainly isn’t short of amazing things to do.
As well as a range of island-hopping adventures, there are many stunning beaches around El Nido to spend your few days exploring.
To get a real birds-eye view of Bacuit Bay, you also cannot give the Taraw Cliff Canopy Walk a miss.
- Island Hopping (book here)
- Nacpan Beach
- Taraw Cliff & Canopy Walk (book here)
- Lio Beach
- Sunset & Zipline at Las Cabanas Beach
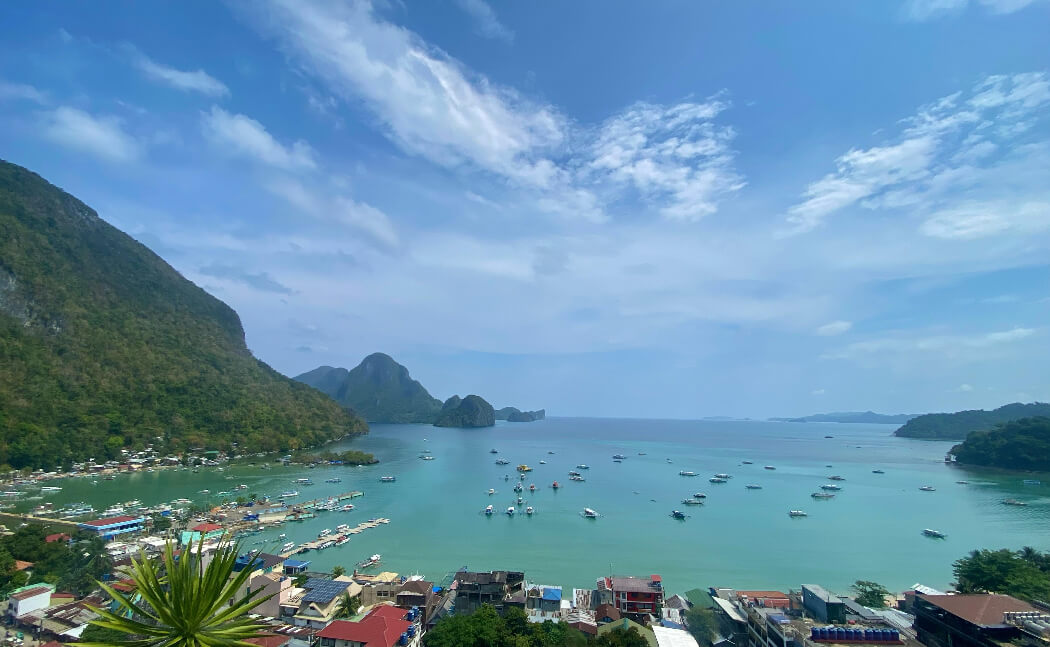
Recommend: Taraw Cliff: The Best Guide To El Nido’s Canopy Walk
Where to stay in El Nido
Depending on the type of traveler you are, there are a few different areas to stay in El Nido.
If you are a budget backpacker, I would suggest staying in town proper, which is where you will find most of the main hostels.
However, for the luxury traveler, I would recommend the area around Las Cabanas Beach.
- Sun Valley Inn – cheapest accommodation in El Nido, great for budget backpackers and couples
- Frend’z Hostel – best option for solo travelers, rooftop pool overlooking Bacuit Bay
- Las Cabanas Beach Resort – best option for luxury travelers
Getting from El Nido to Coron
The ferry from El Nido to Coron takes about 4 hours.
BOOK YOUR FERRY IN ADVANCE HERE
Day 27 – 30: Coron
Coron is the final stop on your Philippines itinerary 1 month.
Similar to El Nido, from Coron you can expect limestone cliffs, azure lakes, crystal-clear lagoons, and some of the most stunning secluded beaches you’ve ever seen.
I have heard that the town proper is not as commercialised as El Nido, and you will not find so many restaurants and bars. Apparently, it is also much less touristy.
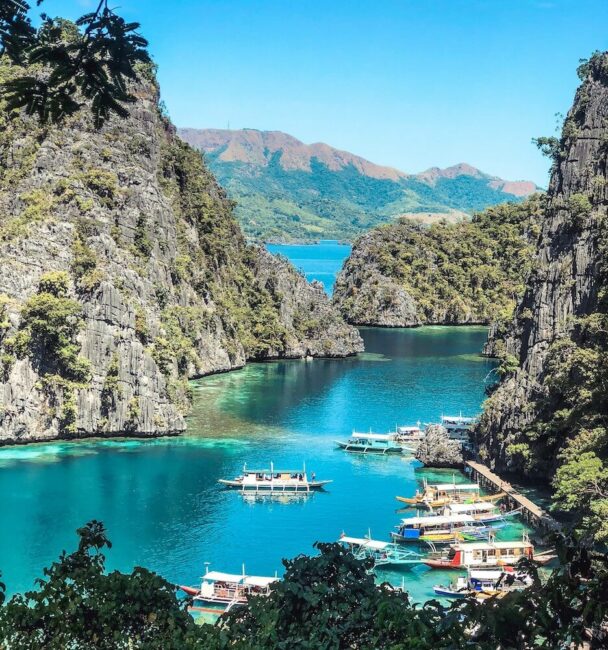
As a budget traveler, I actually decided to skip Coron. However, here is a detailed Coron Travel Guide I would recommend.
The price of the ferry from El Nido to Coron was much pricier than other destinations and I couldn’t justify the money.
However, as one of the most jaw-dropping locations in the Philippines, I couldn’t not include it on this Philippines backpacking route.
Things to do in Coron
The things to do in Coron are not too dissimilar to El Nido and island hopping is the main attraction.
- Island Hopping (book here)
- Cabo Beach
- Mt. Tapyas Viewpoint
- Maquinit Hot Springs
Where to stay in Coron
I would recommend staying in Coron Town Proper when exploring the Philippines.
- Happy Camper Hostel – best option for budget travelers and solo backpackers
- The Funny Lion – best option for luxury travelers
The best time to visit the Philippines
As a tropical country, generally, the Philippines is hot and humid all year round.
Naturally, the peak season coincides with the dry season. Although it varies depending on the destination, November – May are the best months to visit the Philippines.
June, July, and August are typically the rainiest months.
However, try not to oversimplify the weather. The best time to visit Palawan would be very different from the best time to Siargao. Be sure to check the weather in each destination you are visiting.
Furthermore, as a religious country, also be sure to check if your trip coincides with any national holidays. Local tourism and prices skyrocket during these times.
Philippines Essentials Packing List
Average Philippines Travel Budget
Your average Philippines travel budget totally depends on the type of traveler you are.
The Philippines is very affordable for those from Western countries. My budget for the Philippines was roughly $30 a day.
I avoided flying as much as possible and opted for local transport options. I ate like a local and opted for DIY tours with a scooter.
The price of accommodation is notably higher than in other Asian countries. You may have to sacrifice the luxury of aircon or hot water to save money.
That being said, your average Philippines travel budget could easily be much higher.
The Philippines boasts some of the most luxurious resorts in the world. When taking organised tours and eating in fancy restaurants, prices can easily creep up.
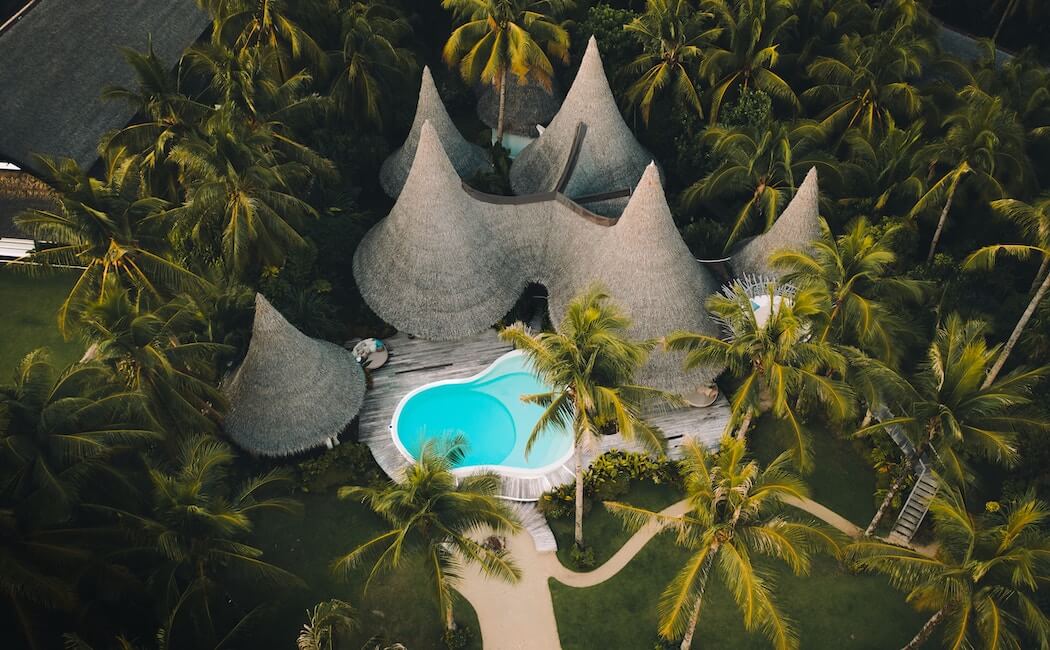
Nay Palad Hideaway Siargao – one of the most stunning resorts in the Philippines
If you don’t plan your Philippines backpacking route in advance, you are also guaranteed to spend lots of money on inter-connecting flights.
Overall, if you want to travel the Philippines on a budget, you’ll be fine. Alternatively, if you’ve got a bit more cash to spend, you’ll have no problem putting it to good use.
WiFi & SIM Cards in the Philippines
There is no denying that the WiFi in the Philippines isn’t great.
Typically, in touristy destinations, you will have no problems with WiFi or signal. However, in more up-and-coming destinations, such as Port Barton or Siquijor, the WiFi can be patchy and unreliable.
I work online and I found that basic web browsing was fine in most places, but things like video calls were not great.
I would suggest getting a local SIM card with a data plan, to be on the safe side. You can grab a SIM from a local 7/11 or sari-sari store, or save yourself the hassle and download an eSIM.
How to get around the Philippines
I was pleasantly surprised by the public transport in the Philippines. There are plenty of options depending on your budget.
- By flight – most islands have a local airport, book flights in advance to save, budget domestic airlines
- By ferry – most common way to travel. Overnight ferries to save money. 12GO & Bookaway for tickets.
- By bus – book buses in advance with 12GO & Bookaway.
- By jeepney – the cheapest way to get around.
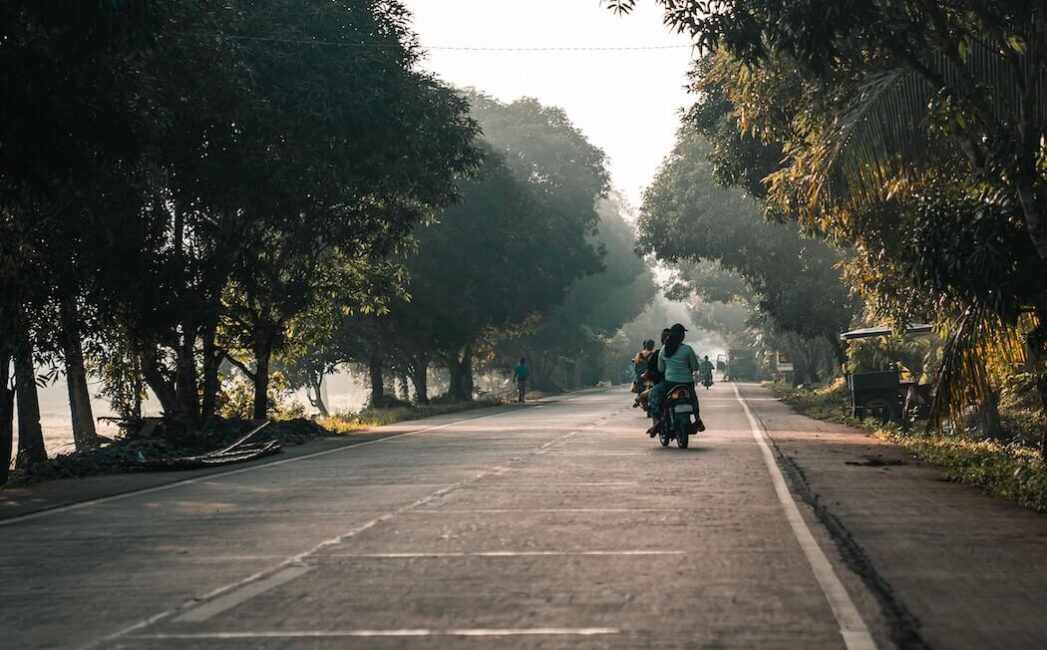
- By scooter – the most common mode of transport. Expect to pay between 200 – 500 PHP ($3-9) per day.
- By tricycle or habal-habal – expect to pay about 100 PHP ($1.50) for a 10-minute drive
Visa for the Philippines
Most countries receive a 30-day visa upon arrival in the Philippines. You do not need to organise this in advance.
This can be extended for up to 60 days. Simply go to the Bureau of Immigration in Manila or Cebu to do this.
You will also need to provide proof of an onward flight within those 60 days. I suggest using onwardticket.com if you do not want to book your flight in advance.
If you are Israeli or Brazilian, you will be given 60 days upon arrival automatically.
This post has detailed everything you need to know for a 1-month backpacking Philippines itinerary.
If you liked this post, feel free to check out my other helpful Philippines guides –

